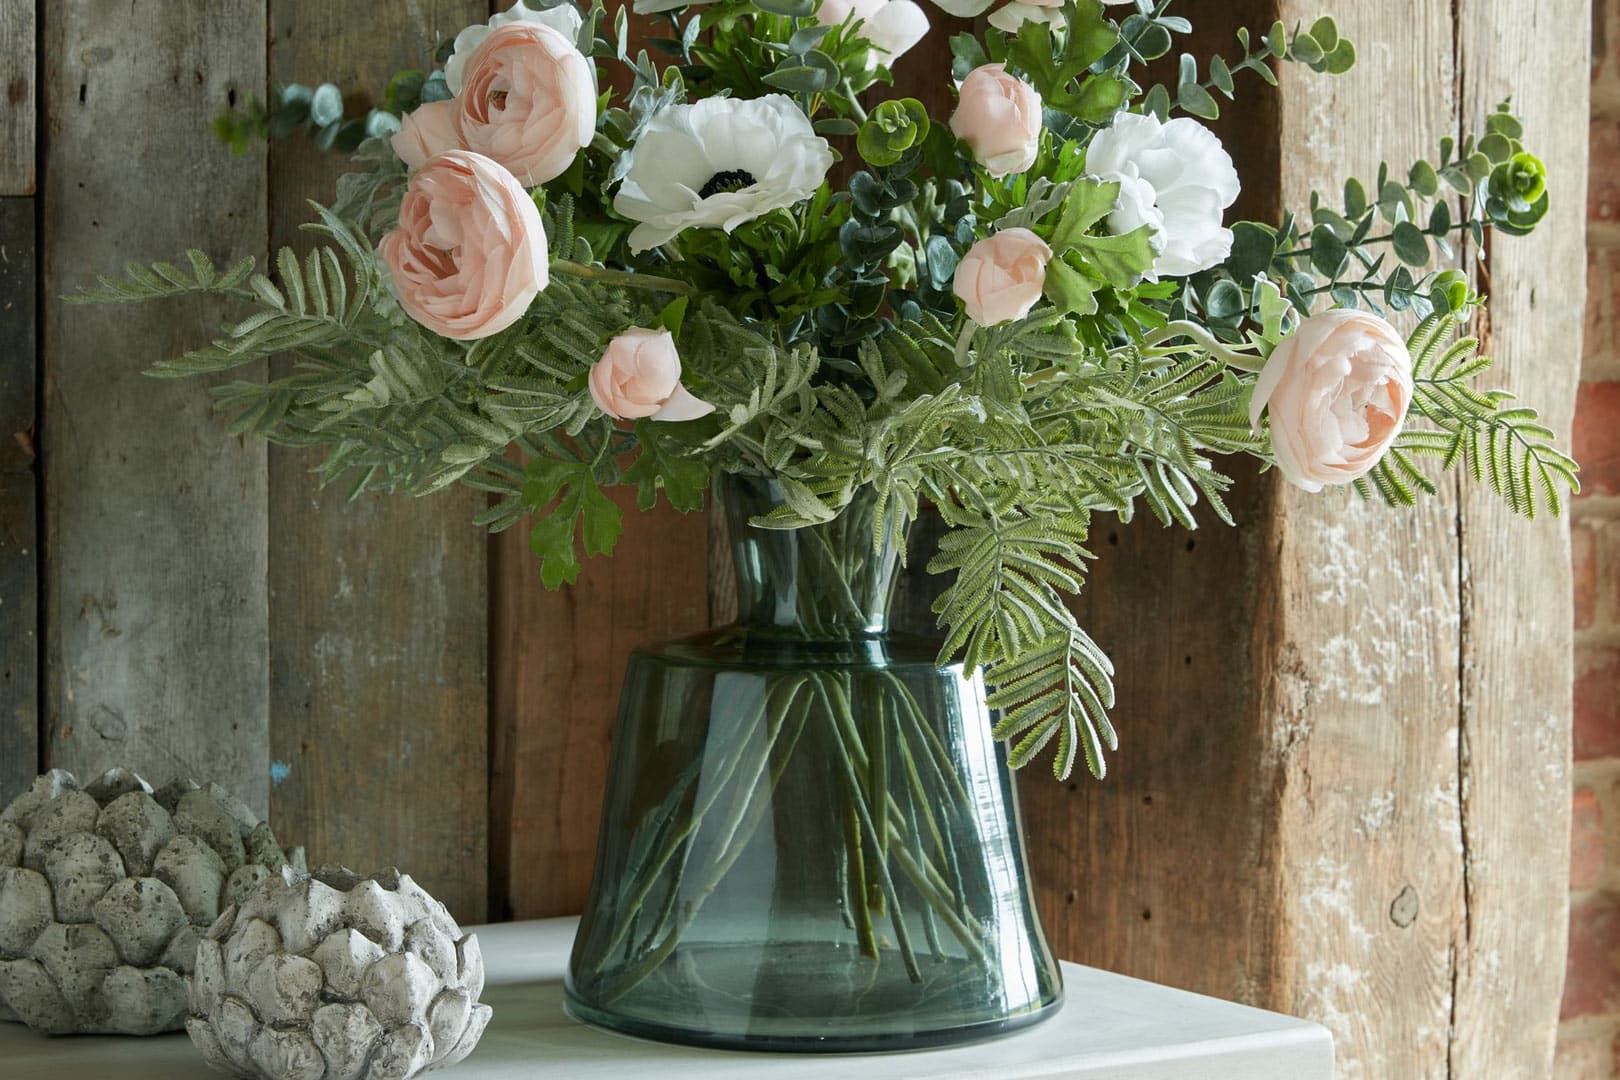
Get into the spirit of Spring with this fresh floral arrangement that displays the power of contrasting soft pastel flowers with subtle green foliage.
Two of my favourite spring florals, the soft pink ranunculus with its full domed head and the fresh white anemone with its striking black stamen, make up the central focus of this hand tied arrangement. The foliage we have chosen adds texture, with the feathery leaves of the silver wattle adding softness at the base of the arrangement, beautifully overhanging the vase, and the structural eucalyptus adding height and contrast to the softer florals.
“Spring is the natural flowering season for the Ranunculus which comes in a plethora of colours and shades. We have chosen the pastel pink as the focal point
of our fresh spring bouquet.”
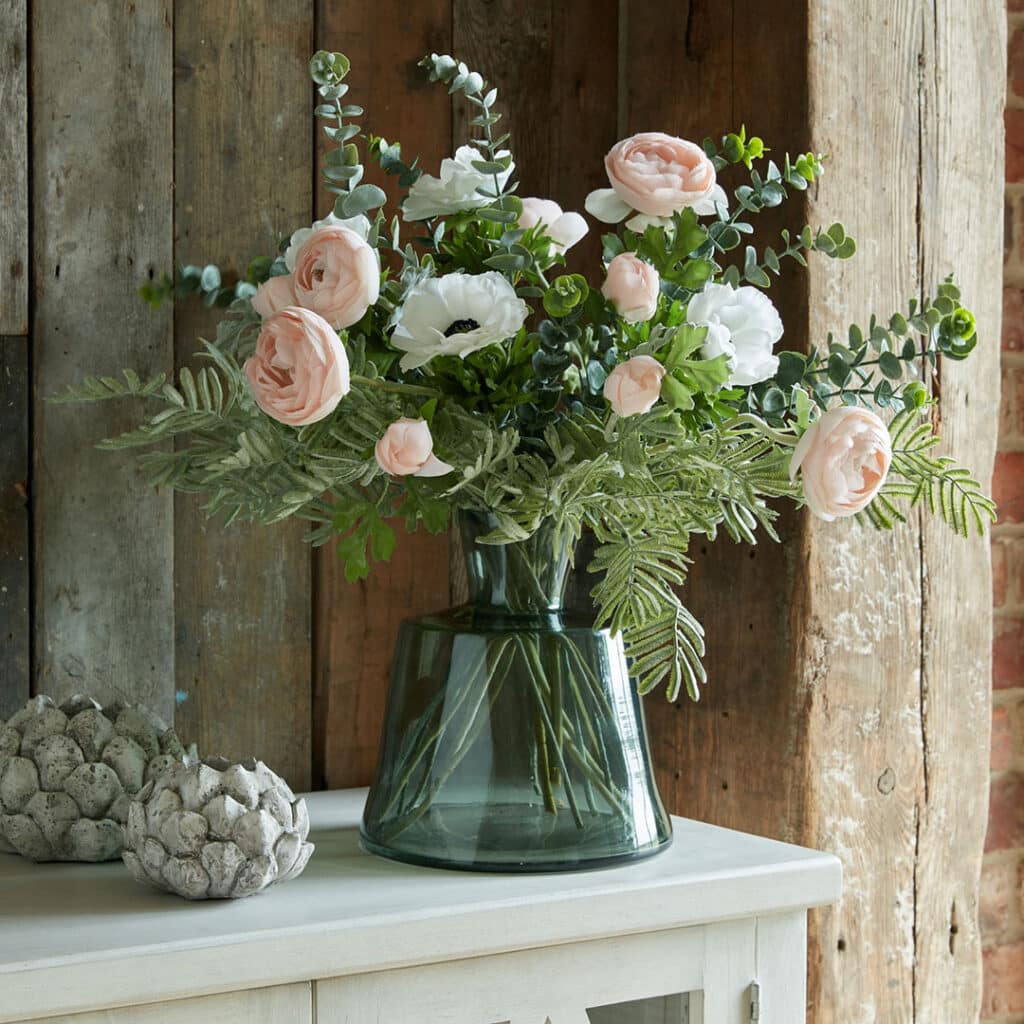
• 5 x Pastel Pink Ranunculus • 4 x White Anemone • 2 x Silver Dollar Eucalyptus • 5 x Silver Wattle Leaf • 1 x Smoked Sage Large Vase
STEP BY STEP INSTRUCTIONS FOR MAKING
YOUR SPRING BOUQUET
To create the handtied look of this arrangement you need to alternate the two main florals, the Ranunculus and the Anemone, with the tall Eucalyptus stems and build the centre of the arrangement in this way. Follow this by then creating a ‘cradle’ using the silver wattle stems so that they form a base that completely surrounds the bouquet. For a more relaxed and natural look they can overhang the neck of the vase as shown in our photo. We have chosen the smoked sage glass vase for its elegant yet contemporary shape but also because the slim neck at the top gives extra support and perfectly suits the nature of a hand tied arrangement.
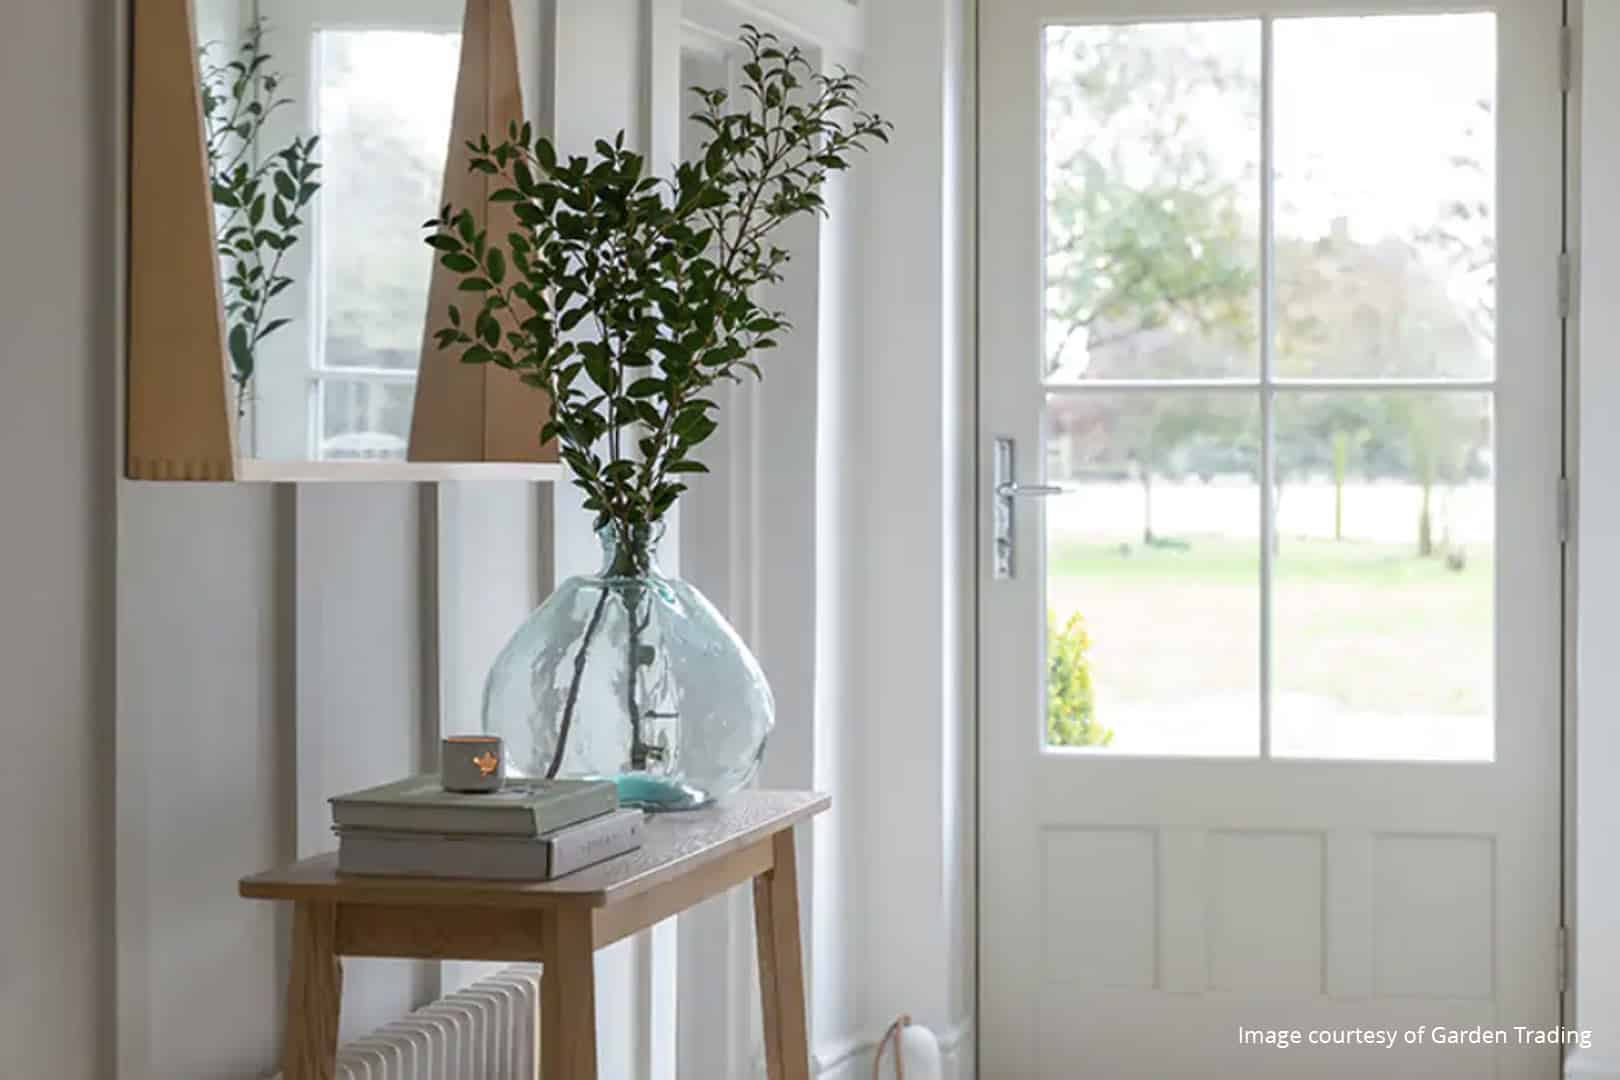
And that’s certainly true the minute anyone walks through your front door. When a guest steps into your hallway, they should be met by a beautiful yet practical space that sets the tone for the rest of your home.
Click on images to shop for items
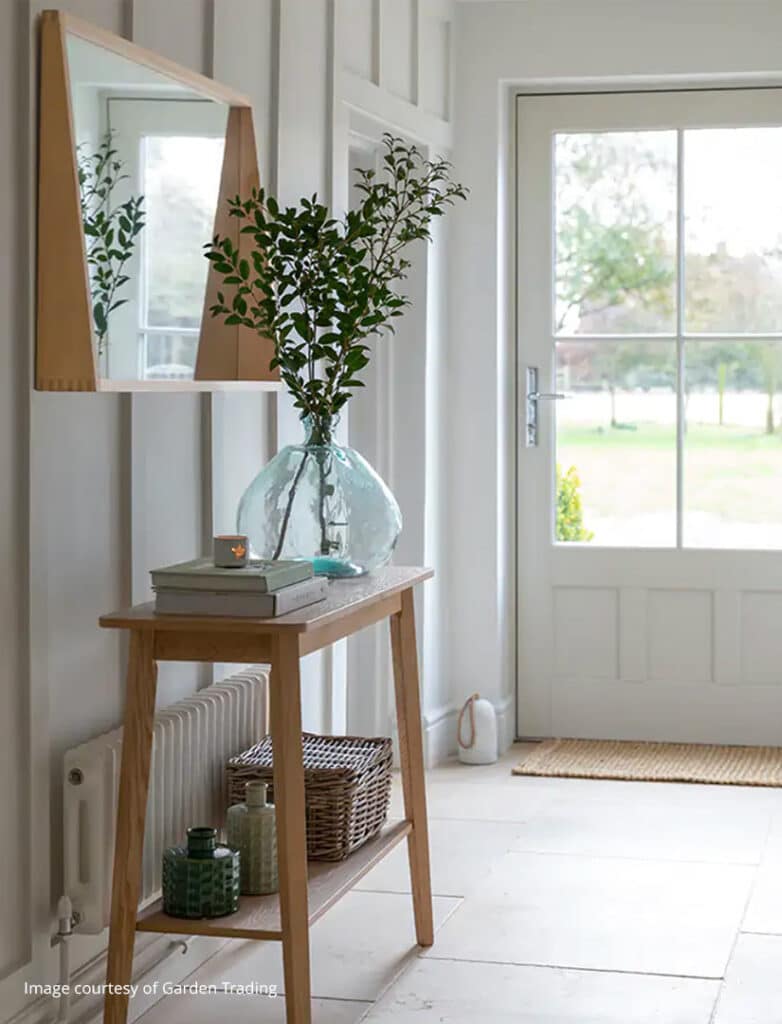
In reality, hallways can often be seen merely as corridors that are neglected when it comes to interior styling. If you want to make an immediate impact in your hallway there’s no better starting point than considering where you put all the clutter! Choosing slimline hallway furniture that incorporates some sort of storage (such as under shelf baskets) can transform even the smallest entranceway into a space that’s both stylish to look at but functional in terms of its practicality.
“Choosing slimline hallway furniture that incorporates storage such as baskets can transform even the smallest entranceway into a space that’s both stylish to look at but functional in terms of its practicality.”
SIZE UP YOUR HALLWAY SPACE
The design of your hallway will of course be influenced by the size and space you have available so considering furniture and accessories that maximise your space can turn dark and cramped into bright and roomy.
The first lesson in making your hallway feel bigger is to carefully select furniture pieces which are both practical and style-focused – instantly creating an entranceway that is not only a joy to walk into but which utilises your space to the maximum.
The perfect entrance: our choices
I always choose a slim console table (like the Ashwicke console table above) where you can bring the outside in by accessorising with a beautiful faux flower arrangement, or add a table lamp or scented candle for a cosy night time feel. I also make the most of the space above and below. You can capitalise on the vertical space above by hanging a large mirror which will reflect light and give the impression of a wider hallway, and use the space below for handy storage baskets to hide away shoes and any other clutter.
Click on images to shop for items
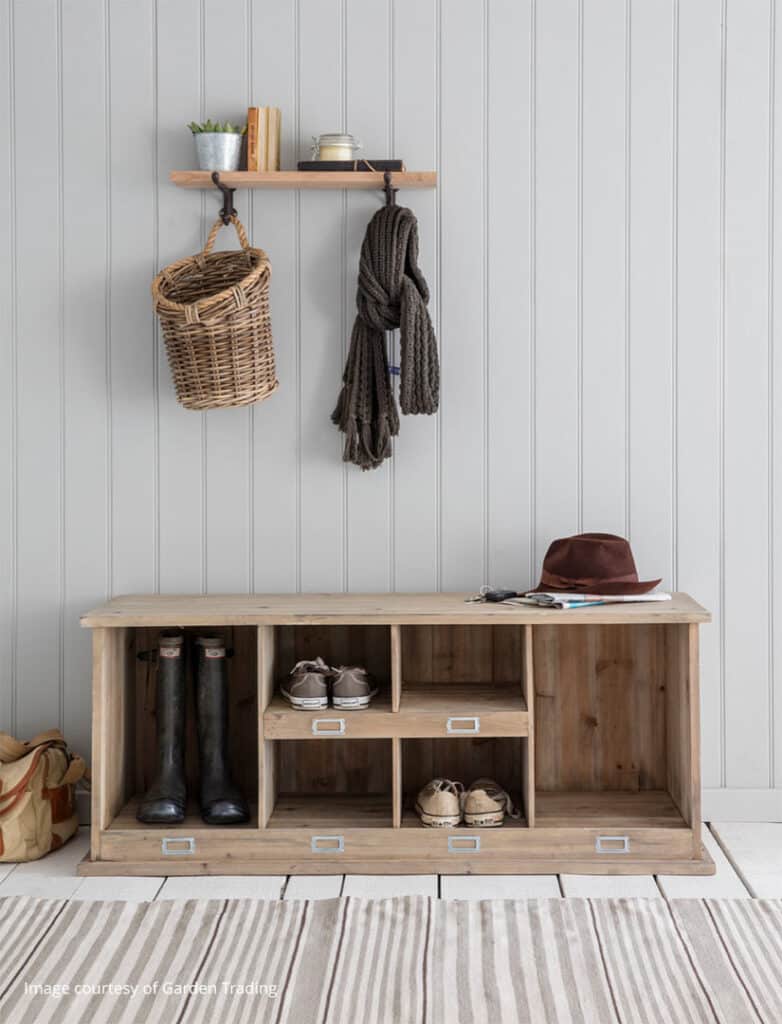
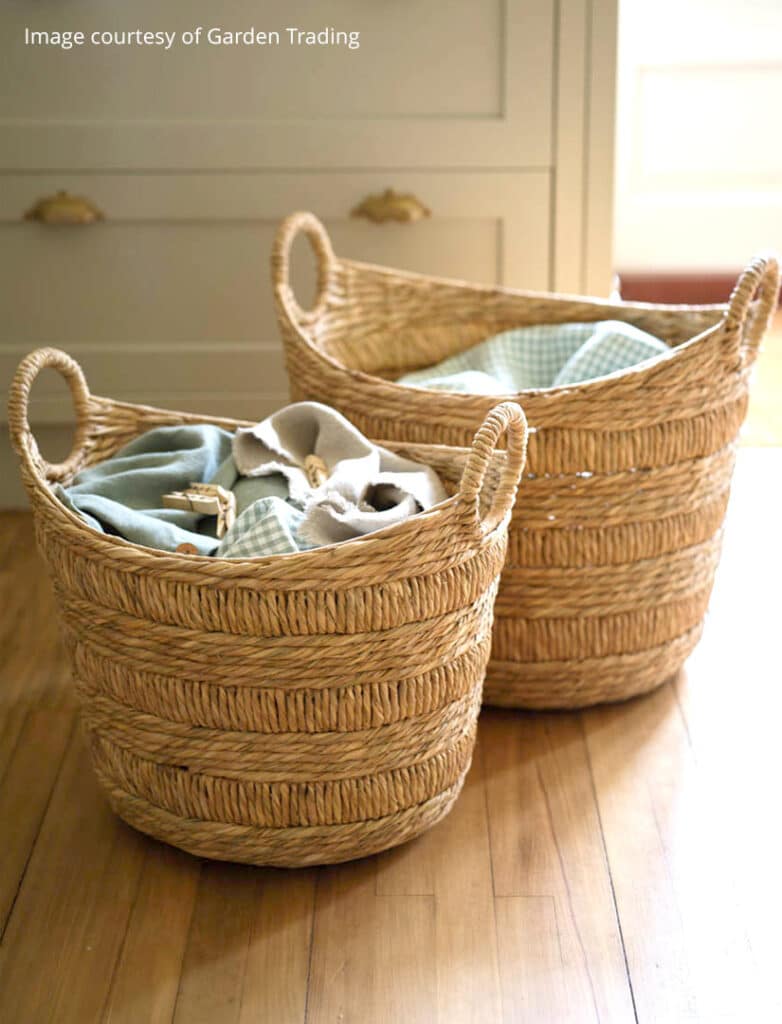
You can also create a sense of cohesion by coordinating larger units with smaller containers,
such as the wicker baskets mentioned earlier
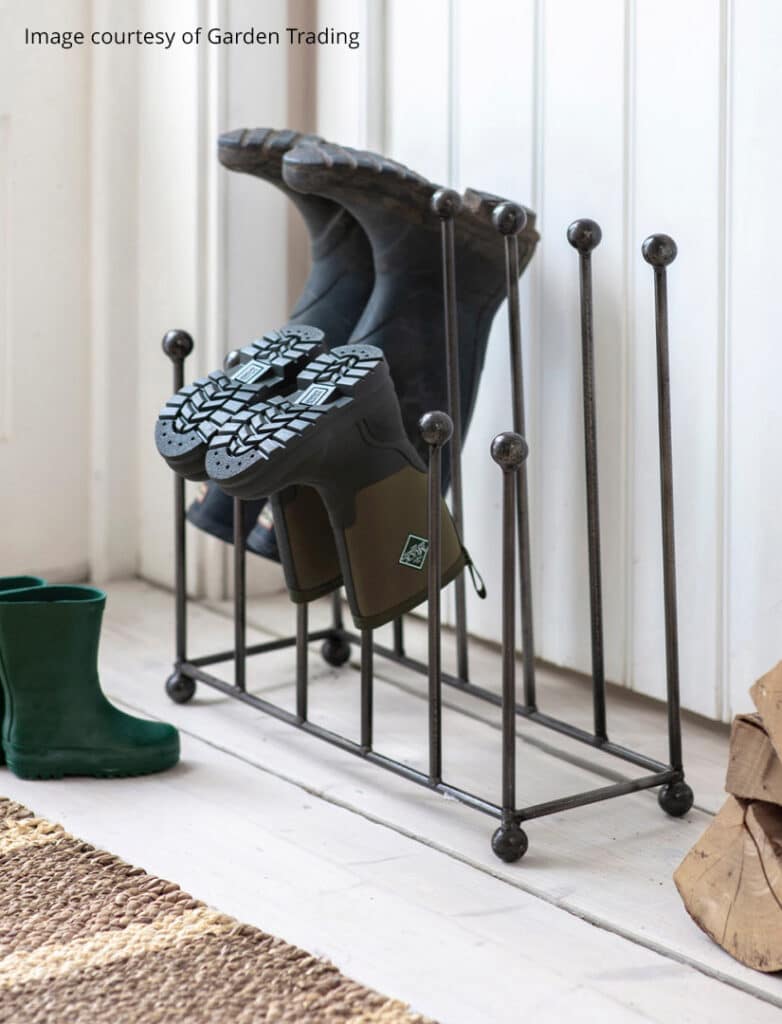
and other hallway staples such as a coat rack, umbrella stand and welly stand to keep your
hallway organised.
Together these hallway ideas will ensure your entrance doesn’t feel overcrowded and chaotic.
By selecting quality pieces of the right sized
furniture, even the most challenging hallway
space can be transformed into one of the most welcoming and stylish areas of the home.
I always think the month of march heralds the end of winter and the beginning of spring…
and that’s when you start to think about extending your living space outside and creating that garden seating sanctuary.
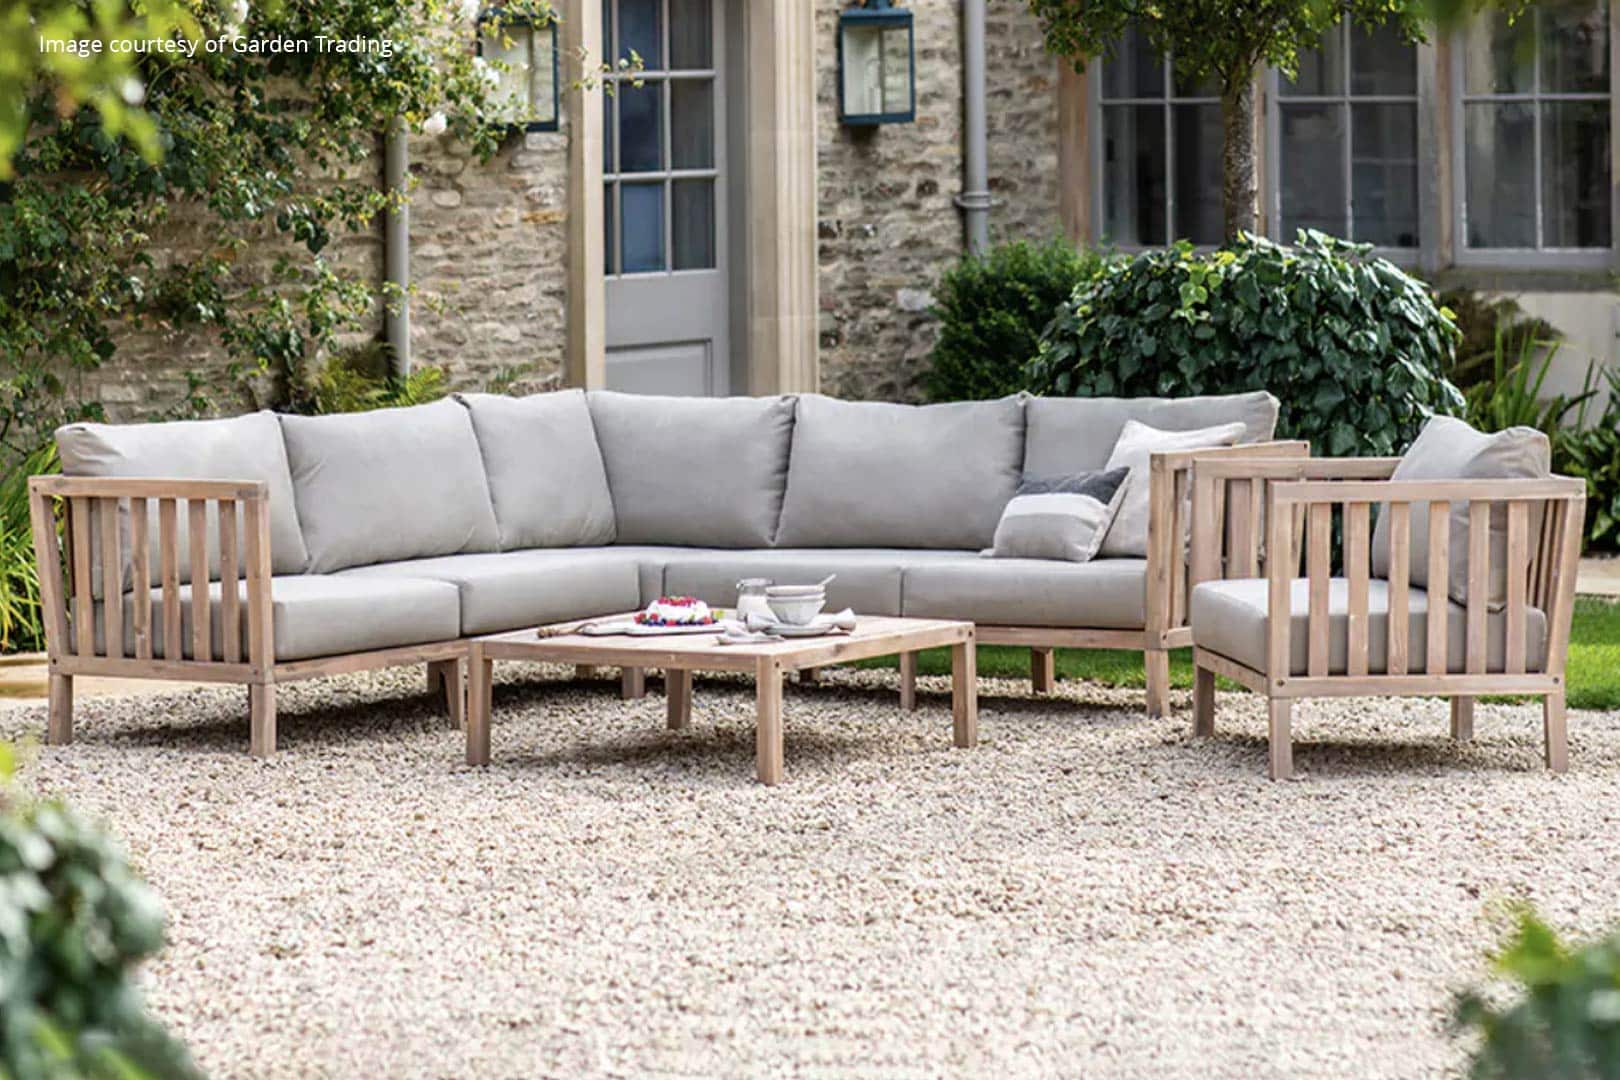
As new garden furniture is a bit more of a longer term purchase, it makes sense to think carefully about the furniture you choose to create that perfect garden haven. Make sure it fits nicely into the space you have in mind and that it’s both comfortable to sit on and weatherproof. In this example we have chosen a very sociable seating arrangement, the PORTHALLOW CORNER SOFA SET to create an inviting external destination for friends and family to enjoy.
The Porthallow collection design pairs wonderfully with the more traditional garden. The pale whitewash finish for the Acacia wooden frame perfectly complements a natural stone patio such as York stone or brickwork pavers. Whilst it’s a given that quality outdoor garden furniture such as this is crafted to endure the elements all year round, it is still wise to take extra measures to ensure it stays in top-notch condition throughout the seasons.
“As new garden furniture is a longer term purchase, it makes sense to think carefully about the furniture you choose to create that perfect garden haven.”
EXTENDING THE LIFE OF YOUR GARDEN FURNITURE
Taking extra care to keep weatherproof garden furniture protected will without doubt extend its life…
and that’s where outdoor furniture covers come into their own.They serve as a protective shield for your outdoor seating, tables, and other furnishings, whatever their material.
An extra barrier to protect your outdoor pieces from the English Weather – preventing damage caused by rain, frost and snow, helping to keep your furniture in peak condition throughout the seasons.
UV Protection – Furniture covers help minimise the impact of exposure to sunlight which can cause bleaching and fading of your outdoor furniture.
Protection from dust, dirt and animal droppings. A quality weight cover helps keep your furniture clean and ready to use. It also cuts down time-consuming maintenance as well as avoiding the need for abrasive cleaners that can damage and bleach your furniture over time.
Your perfect garden sanctuary - we’ve got it covered
We have chosen the OUTDOOR CORNER SOFA SET COVER which is the perfect size to protect our chosen PORTHALLOW CORNER SOFA SET and other corner sofa sets of similar dimensions, protecting it all year round. Made from durable Ripstop Polyester, this deep grey cover comes as a single piece, with a toggle for tightening and a drawstring bag for storing your cover when not in use. Dirt, UV and water resistant this large cover is also designed to be breathable allowing moisture to escape. We recommend before covering your outdoor furniture that you remove the fabric cushions and store them indoors.
Top this classic carrot EASTER cake with piped icing and chopped walnuts as well as decorative readymade candy CARROTS for seasonal appeal.
Prep: 35 minsCook: 30 minsPlus cooling
EASY
SERVES 10-12
Ingredients
230ml vegetable oil, plus extra for the tin
100g natural yogurt
4 large eggs
1½ tsp vanilla extract
½ orange, zested
265g self-raising flour
335g light muscovado sugar
2½ tsp ground cinnamon
¼ fresh nutmeg, finely grated
265g carrots (about 3), grated
100g sultanas or raisins
100g walnuts or pecans, roughly chopped (optional)
6 Readymade icing shaped carrots
For the icing
100g slightly salted butter, softened
300g icing sugar
100g soft cheese
(Or you can buy readymade icing if preferred)
Step by step guide to making your easter carrot cake
STEP 1 Heat the oven to 180C/160C fan/gas 4. Oil and line the base and sides of two 20cm cake tins with parchment paper. Whisk the oil, yogurt, eggs, vanilla and zest in a jug. Mix the flour, sugar, cinnamon and nutmeg with a good pinch of salt in a bowl. Squeeze any lumps of sugar through your fingers, shaking the bowl a few times to bring the lumps to the surface.
STEP 2 Add the wet ingredients to the dry, along with the carrots, raisins and half the nuts (if using). Mix well to combine, then divide between the tins.
STEP 3 Bake for 25-30 mins or until a skewer inserted into the centre of the cake comes out clean. If any wet mixture clings to the skewer, return to the oven for 5 mins, then check again. Leave to cool in the tins.
STEP 4 To make the icing, beat the butter and sugar together until smooth. Add half the soft cheese and beat again, then add the rest (adding it bit by bit prevents the icing from splitting). Remove the cakes from the tins and sandwich together with half the icing. Top with the remaining icing and scatter with the remaining walnuts. Your cake will keep in the fridge for up to five days, but is best eaten at room temperature.
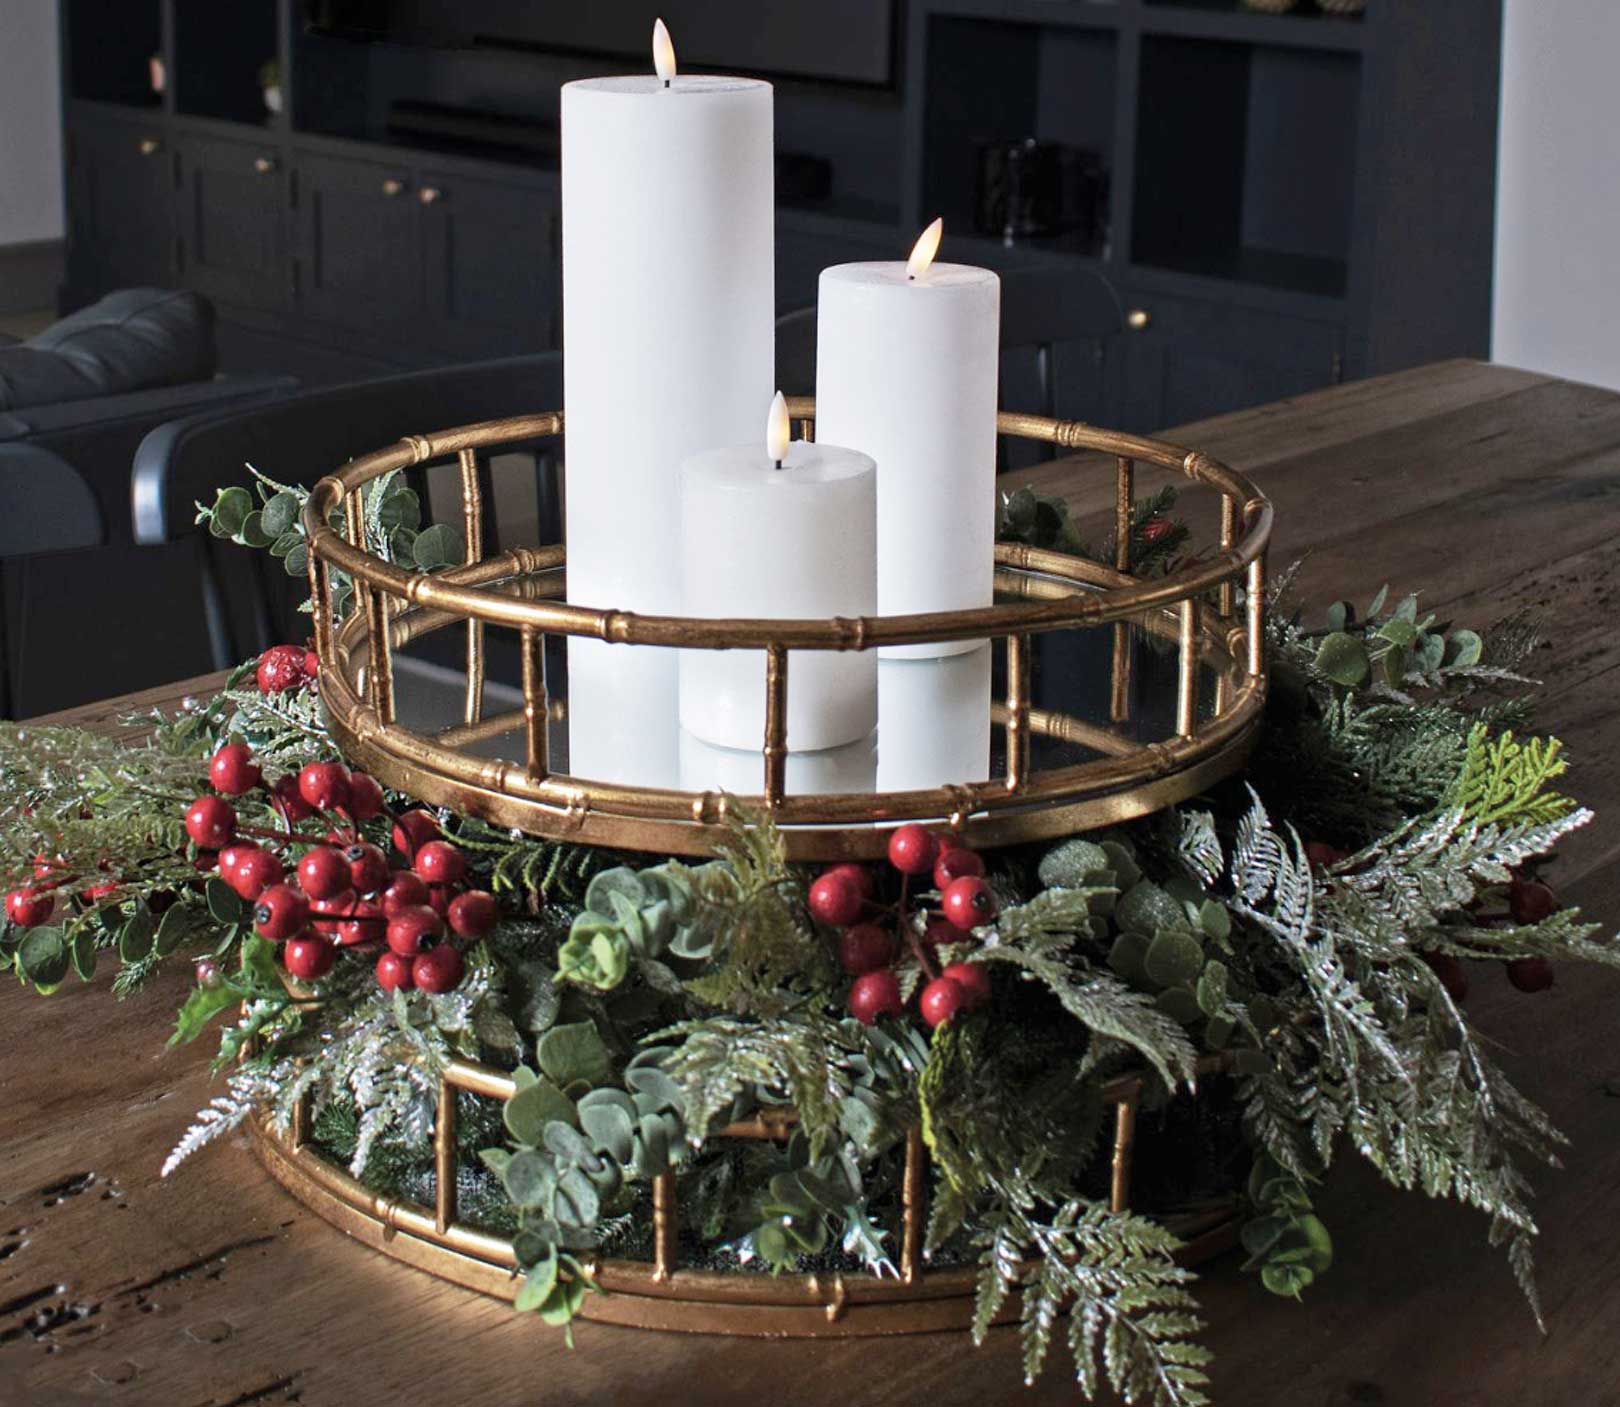
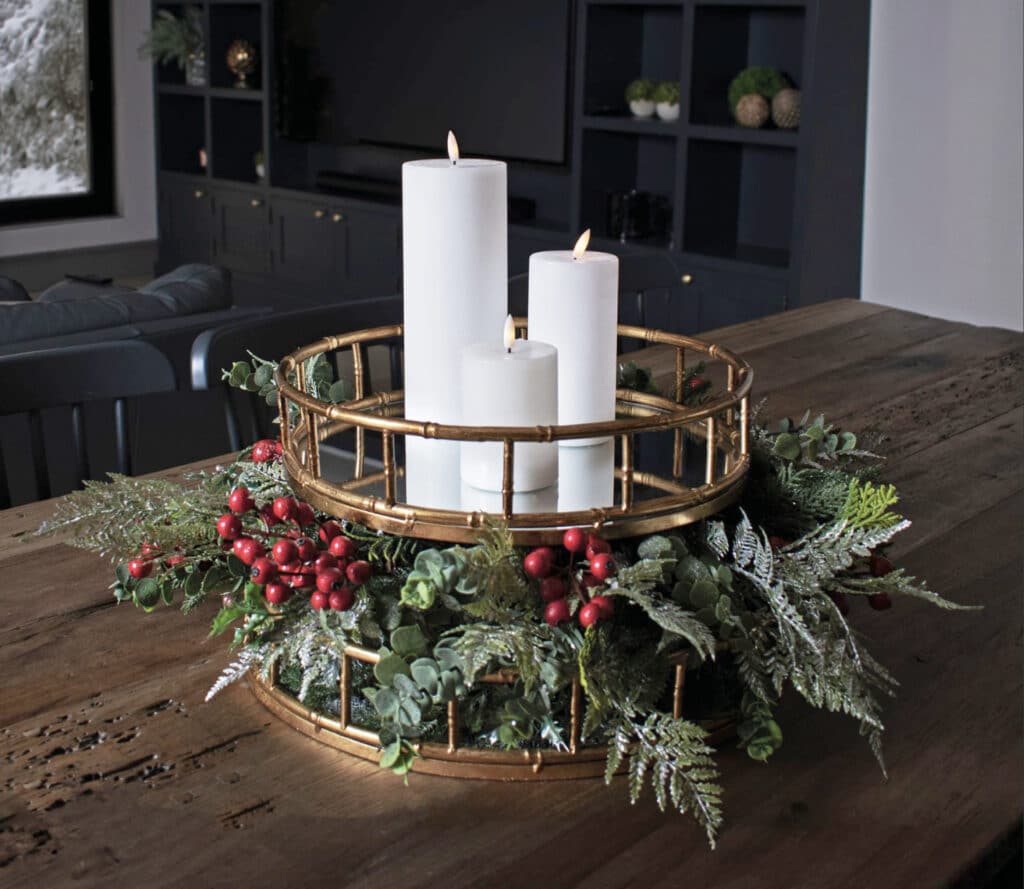
Bring a touch of festive luxury to your dining table by creating this faux floral centrepiece.
Designed with life like berries and frosted greenery, it creates a beautiful seasonal display. Whether you’re showcasing Christmas cocktails or adding the soft glow of candles, this arrangement sets a captivating scene for your celebrations.
“Experience glamour at your
dining table with our
Christmas faux floral centrepiece”
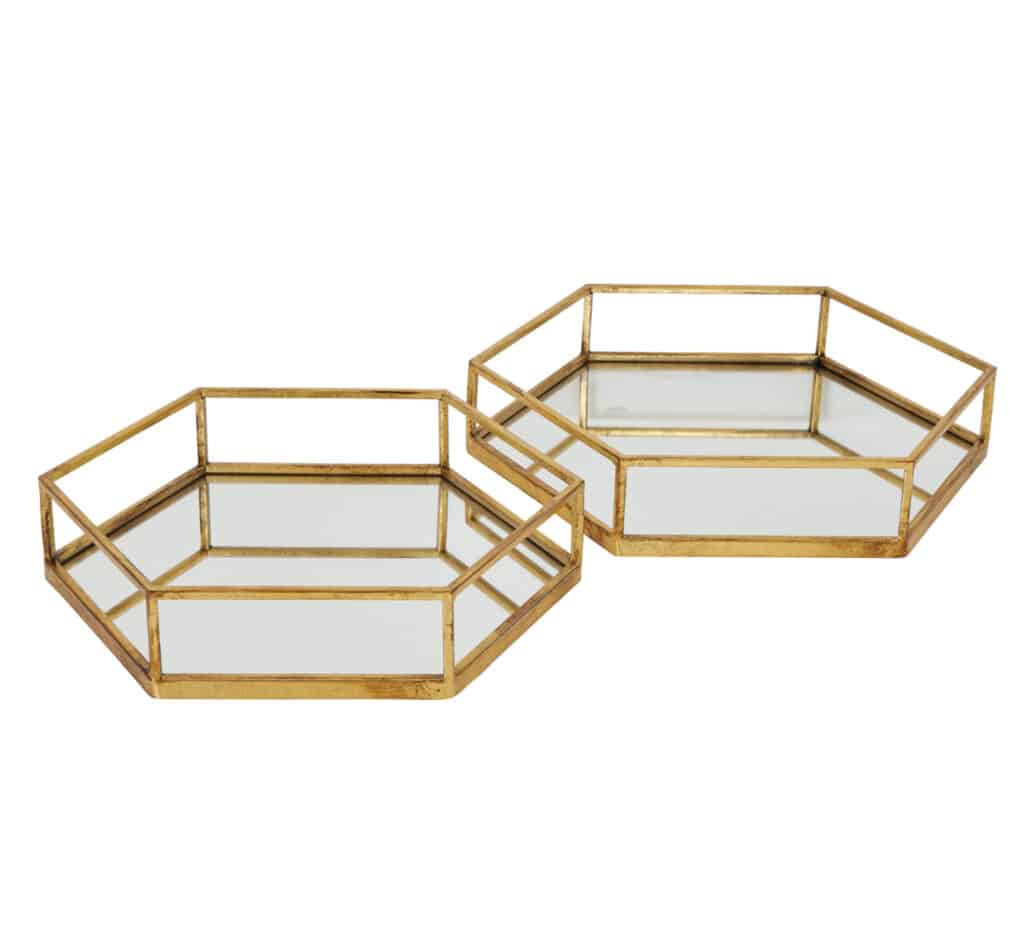
• 4 x Large Cineraria Eucalyptus Spray • 4 x The Natural Garden Collection Large Bracken Fern Spray • 3 x Medium Festive Berry Pick • 1 x Set of 2 Trays
STEP BY STEP INSTRUCTIONS FOR MAKING
YOUR CHRISTMAS CENTREPIECE
To begin, place a sturdy object, such as an upturned plastic plant pot, in the center of the largest tray. Add chicken wire around the plastic pot. Utilize the sections in the tray to securely place the floral stems, ensuring that the stems are equally distributed throughout. Make sure you keep the top of the box clear, so that you can put your second tray on top. Finally, top the arrangement with the second tray on top of the box with your chosen decor.